
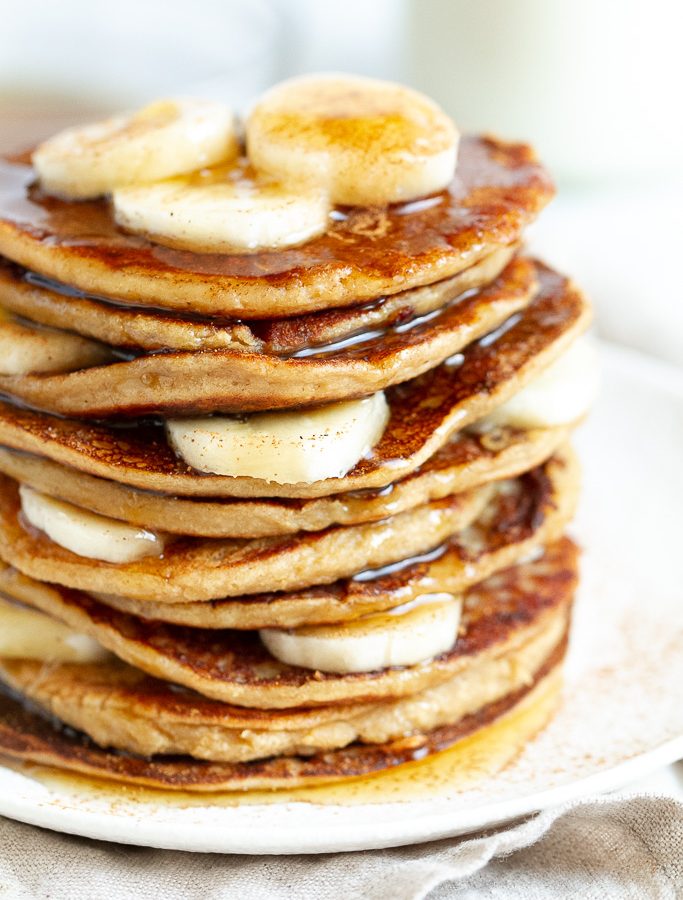
Easy Banana Oat Pancakes made in the blender with just FOUR ingredients! Gluten-free, vegan, and a delicious way to start the day.
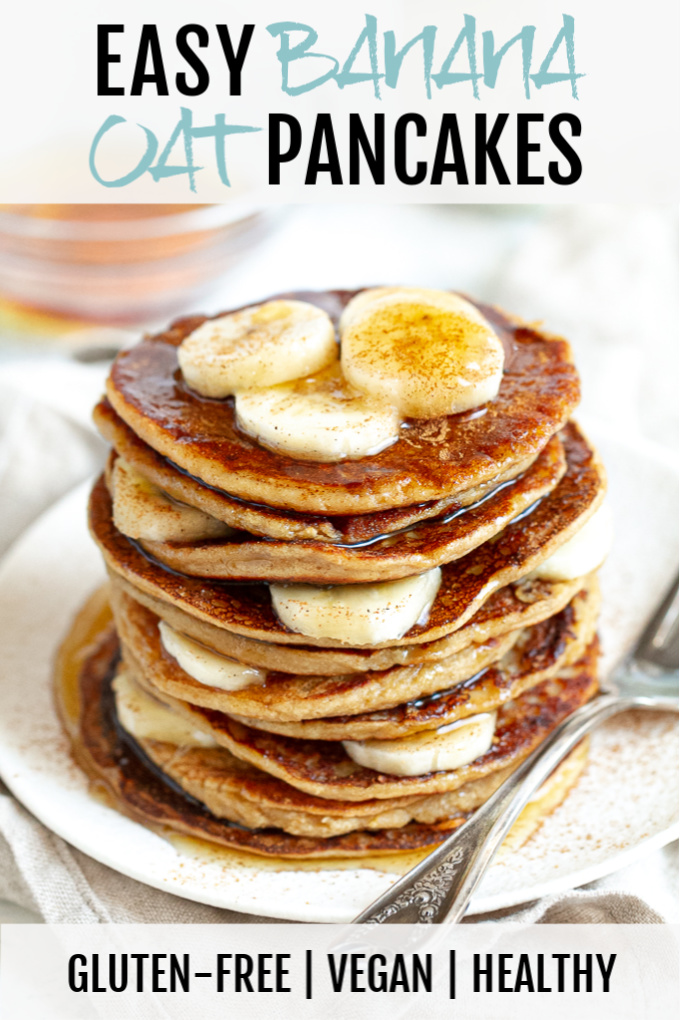
Happy pancake Sunday!
Or at least I think today is Sunday. Honestly, this far into quarantine, every day kind of blends in to the next and I find myself living a strange yesterday-today-tomorrow kind of life.
But even if today isn’t Sunday (which I’m pretty sure it is), it’s still a good day for pancakes. Especially these easy banana oat pancakes, which only take FOUR ingredients and a blender to make.
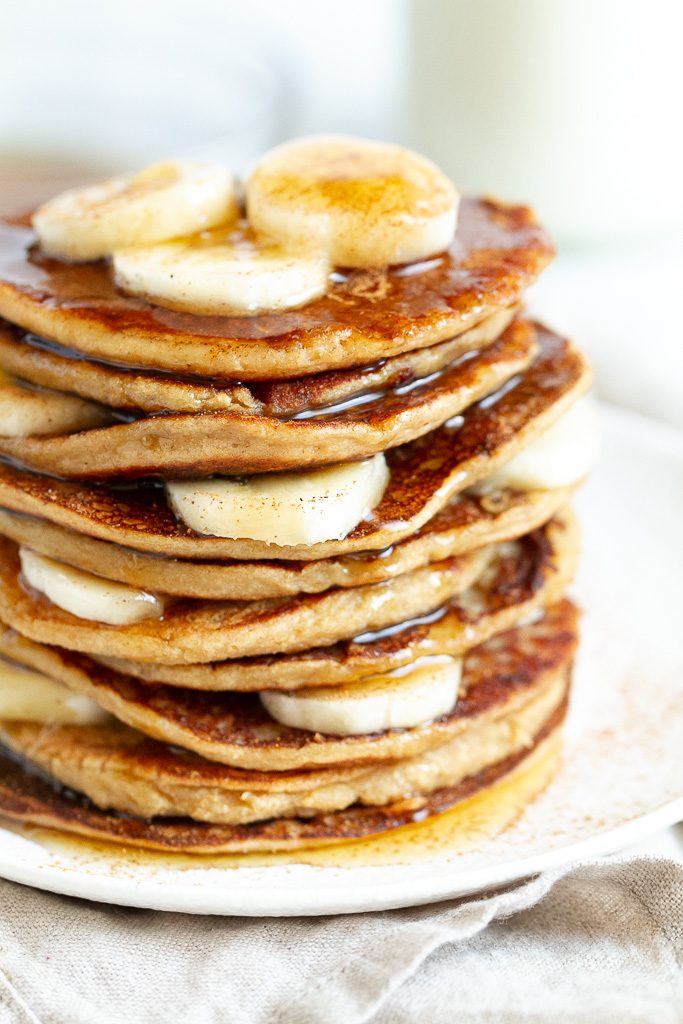
How To Make Easy Banana Oat Pancakes
Notes on the ingredients
- You can use either quick cooking or regular/old-fashioned oats. I don’t recommend instant or steel cut oats. Also, make sure to use certified gluten-free oats if you need these pancakes to be gluten-free.
- Don’t use bananas that are overly ripe. If you use bananas that are really mushy and starting to go completely brown, you’ll end up with pancakes that are a lot more gummy. Yellow bananas with a splattering of brown spots are perfect.
- The quality of your baking powder is important! Make sure it’s no more than 6 months old if you want the best texture.
- The basic recipe is just 4 ingredients, but feel free to add cinnamon, vanilla, or a little bit of sugar to enhance the flavour. I find they’re sweet and flavourful enough, though, if you want to keep things simple.
Prepping the batter
- Start by tossing the oats into your blender and processing them until they have the consistency of a fine flour. You can do this in any blender as the ingredient load isn’t overly heavy. Alternatively, you can use pre-ground oat flour and mix everything together in a bowl. Just replace the 1 cup of oats with 3/4 cup (80 g) of oat flour.
- After that, add all of the remaining ingredients and process on high until a smooth batter forms. Make sure to scrape down the sides and corners of your blender so that no oat flour gets stuck there. The batter should slowly run off a spoon.
- Let the batter sit! I know it’s hard to be patient when you want food NOW, but letting the batter sit for at least 5-10 minutes gives the oats time to absorb some of the liquid and leads to a fluffier pancake that will cook a lot more evenly. This is a good time to turn your stove on and let your skillet heat up.
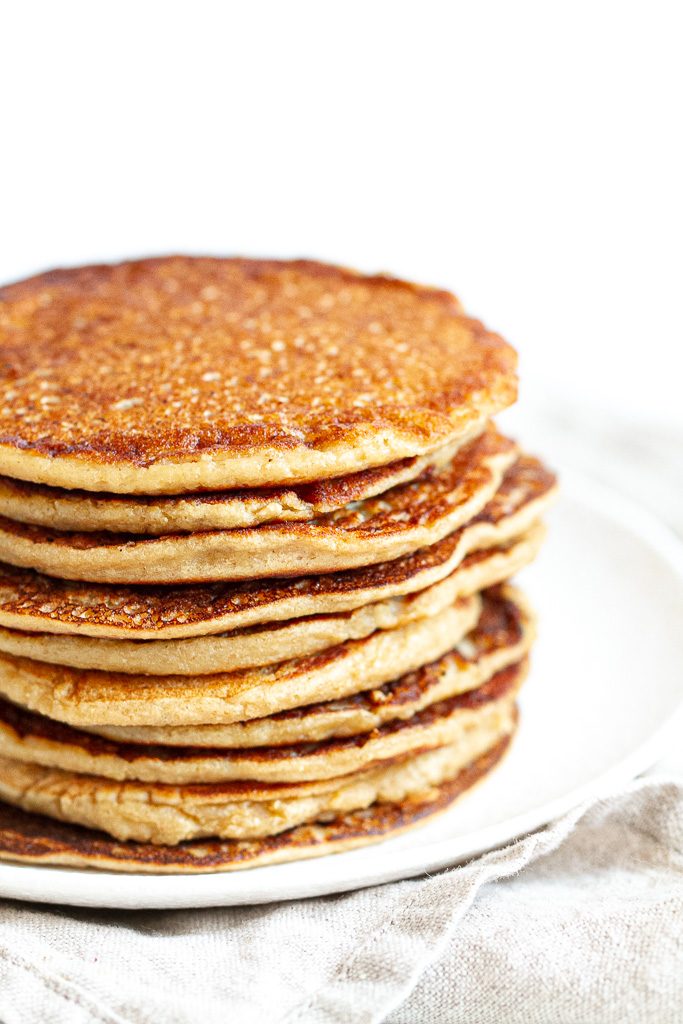
Getting the perfect pancakes
- Make sure that your skillet is nice and hot (but not TOO hot) before you pour your first pancake. You can test this by sprinkling a few drops of water onto the skillet – if they dance around on the surface and slowly evaporate, you’re good to go.
- That being said, don’t cook your pancakes over high heat. Lower and slower is the name of the game here. Too high heat will cause the outside of your pancakes to burn while the inside stays undercooked and gooey. I recommend low-medium, and turning it down even further if you notice the outsides cooking too fast the longer you go.
- Don’t use too much batter per pancake and after you pour the batter, rotate your skillet a little bit to help it spread out. Make smaller pancakes so that they’re easier to flip.
- Another thing that helps is covering the skillet with a lid while the pancakes are cooking. This holds in more heat, helping the pancakes cook faster and more evenly. It also puffs them up and makes them fluffier.
- Don’t be tempted to flip the pancakes too soon. Once you start to see bubbles forming on the surface, wait another minute for them to pop and then flip them.
- The batter will thicken while you’re making the pancakes. If it becomes too thick, add a few tablespoons of milk to thin it out.
- To keep your pancakes warm while you finish making them, turn your oven to 200°F (93°C) and put the pancakes in on a lined baking sheet until you’re ready to eat them.
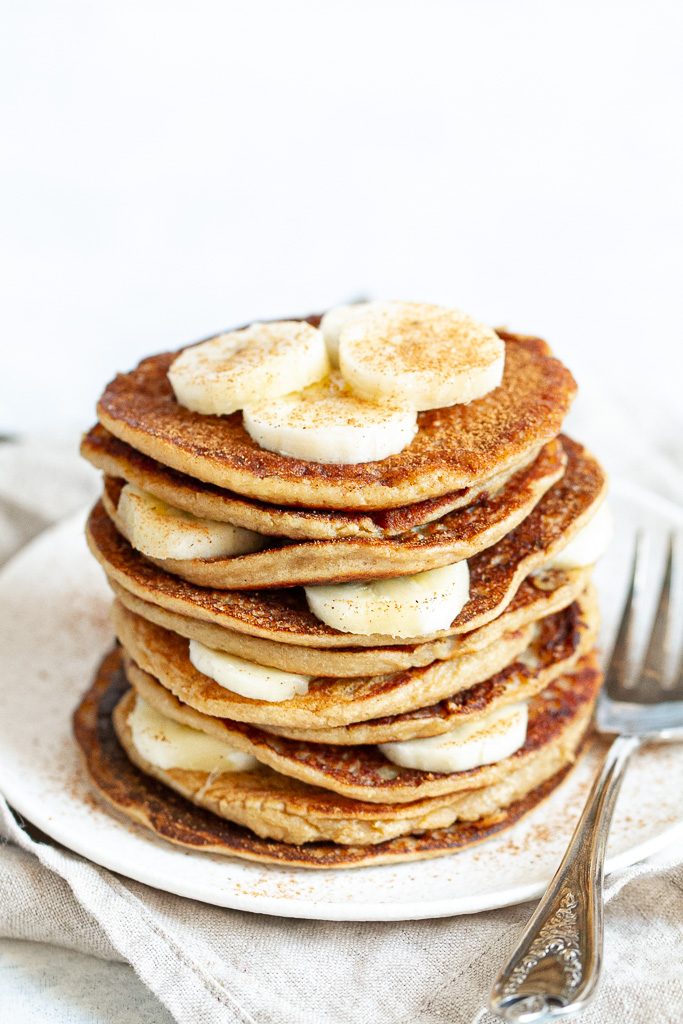
Okay, But What Are They Like?
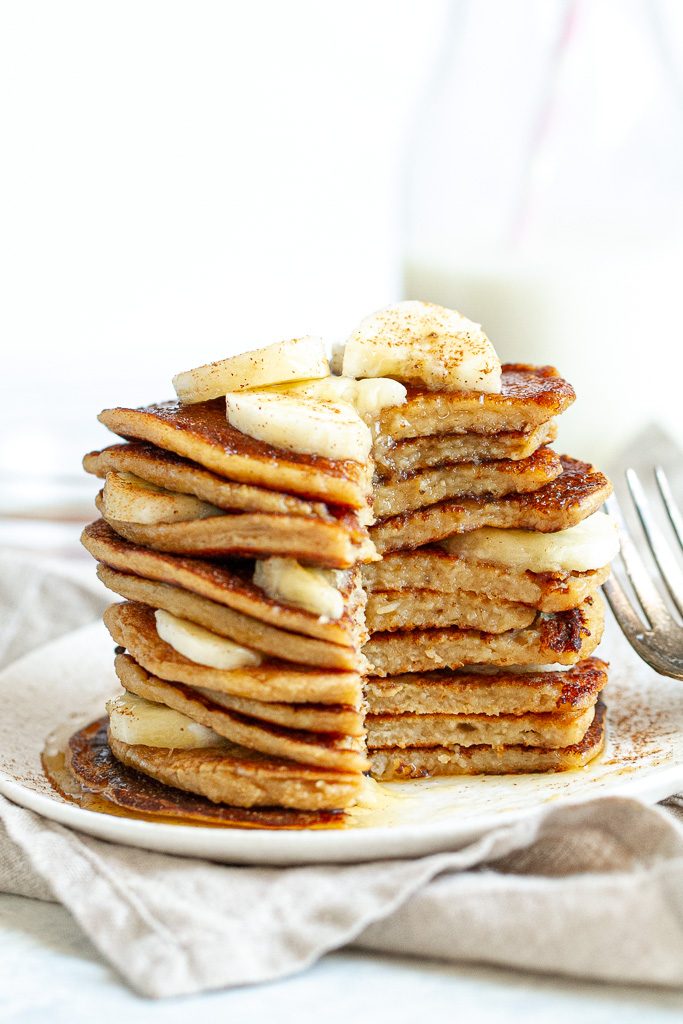
Soft, tender, and flavourful. They’re not as big or fluffy as traditional pancakes made with wheat flour and eggs, but that doesn’t stop them from being a pleasure to eat.
Banana is definitely the dominant flavour, and the pancakes themselves give me banana bread vibes as far as how they taste. They’re subtly sweet on their own, even if you decide not to add the sugar. They’re also a perfect base for any kind of toppings you decide to add (maple syrup is a must, though).
These pancakes are vegan and gluten-free, and you can easily make them nut-free and refined sugar-free with a few simple modifications.
Happy eating!
I’d love to know if you make this recipe! Leave a comment and rating down below to let me know what you think, and subscribe to our mailing list to receive new recipes in your inbox!
Print
easy banana oat pancakes
- Total Time: 25 minutes
- Yield: 8-10 pancakes
Ingredients
- 1 cup (80 g) oats, gluten-free if needed
- 1 medium-sized ripe banana (100 g or 1/2 cup mashed)
- 2/3 cup (160 ml) unsweetened almond milk
- 1 tsp baking powder
- Optional: 1/2 tsp cinnamon, 1 tsp vanilla, 1 Tbsp coconut sugar
Instructions
- Preheat a non-stick skillet over medium-low heat*. You want to make sure that it’s hot before you start cooking your pancakes.
- Add the oats to a blender and process on high until they’ve broken down into the consistency of a fine flour, about 10 seconds. Add the remaining ingredients and continue processing until a smooth batter forms, making sure to scrape down the sides and corners of your blender as necessary. When you’re done blending, let the batter sit for about 5 minutes so that the oats have more time to absorb some of the liquid.
- Pour the batter straight from the blender onto your skillet until desired size of pancakes is reached. Cover the skillet with a lid and cook until the edges of the pancakes have set and bubbles begin to form on the tops, about 3 minutes. Using a spatula, flip and cook for another 2 minutes. Repeat until all the batter is gone. If you find the batter getting too thick as time goes on, add a few more tablespoons of milk.
- To keep your pancakes warm while you finish making them, turn your oven to 200°F (93°C) and put the pancakes in on a lined baking sheet until you’re ready to eat them.
- Pancakes can be refrigerated for a few days or wrapped and frozen for up to 2 months.
Notes
* Don’t cook your pancakes over high heat. This will burn the outsides while leaving the insides undercooked and gooey. Lower heat will ensure a thoroughly cooked pancake.
To make these gluten-free, make sure to use certified gluten-free oats.
To make these nut-free, replace the almond milk with another non-dairy milk like rice or soy.
Nutrition info is calculated for the entire recipe. Individual pancake nutrition facts will vary depending on how big you make them.
- Prep Time: 10 mins
- Cook Time: 15 mins
Looking for more pancake recipes? Try one of these!
Banana Oat Greek Yogurt Pancakes
Blueberry Banana Greek Yogurt Pancakes
Chunky Monkey Greek Yogurt Pancakes
Cinnamon Roll Greek Yogurt Pancakes
Apple Oat Greek Yogurt Pancakes

*Disclosure: Some of the links included in this post may be affiliate links, meaning I’ll earn a small commission if you purchase through them, at no additional cost to you. I only recommend products I personally use and believe will add value to my readers. Thank you so much for helping support Spoons!
Nice breakdown. The step-by-step layout made it easy to follow along.
This answered the exact question I came here with. Nicely explained.
Thanks for laying the steps out so clearly, saving this one to try on the weekend.
The warning about overly ripe bananas is the one I always get wrong; I assumed mushier meant sweeter, but it just makes the pancakes gummy. Letting the batter rest 5–10 minutes also matters more with oat batters, since the oats need time to hydrate before they hit the pan. Covering the skillet is the tip I’ll try next — trapping steam should help the centers cook through before the outsides brown.
The note about avoiding overly ripe bananas is spot on — I learned the hard way that blackened bananas make oat pancakes dense and gluey rather than sweet. Covering the skillet with a lid is the tip I’d never tried, and it genuinely helps them puff and cook through before the outside scorches. Letting the batter rest five minutes also makes a real difference in texture.
Thanks for sharing this thoughtful overview of Easy Banana Oat Pancakes | running with spoons. It gave me a few useful ideas to explore.
This was a clear and practical read about rvz to iso. I especially appreciated the concrete examples.
Four ingredients and a blender — that’s my kind of breakfast. These look like the perfect way to use up those overripe bananas sitting on my counter.
Thanks for sharing this thoughtful overview of Easy Banana Oat Pancakes | running with spoons. It gave me a few useful ideas to explore.
These look so simple and delicious — I
Four ingredients and a blender? My kind of breakfast — I’ll be giving these a try this weekend.
Four ingredients and all blended up? I love how simple this is, and the fact that they’re gluten-free and vegan is a huge bonus. These look like the perfect easy weekend breakfast.
Blending oats is clever, but the batter needs resting to avoid gummy centers.
Thanks for sharing this thoughtful overview of Easy Banana Oat Pancakes | running with spoons. It gave me a few useful ideas to explore.
I like that these use oats and banana as the base and can be made right in the blender, since that makes cleanup so much easier. The note about letting the batter sit briefly is helpful too; oat pancakes always seem to cook better once the oats have softened a bit.
These look so good! Love how simple the recipe is. Definitely saving this to try for breakfast this weekend!
Really good information, thanks for taking the time to share it.
These pancakes look delicious!
These banana oat pancakes look absolutely delicious
hello, nice too meet u, thanks for sharing this post, i very like it
バナナとオーツをブレンダーで混ぜるだけで、4 ingredientで作れる手軽さがいいですね。グルテンフリーでヴィーガンなのも嬉しく、忙しい朝に試してみたくなりました。焼くときに焦げやすくないか、火加減のコツも気になります。
These banana oat pancakes look absolutely delicious! On a creative tech note, I’ve been exploring MiniMax H3 for AI video generation — really impressive cinematic output for food content creators.
Thanks for the practical article. The points were helpful for readers comparing options and planning the next step. Ref 1tdc3da.
These pancakes look delicious! For anyone planning a kitchen refresh — AI room design tools let you visualize different kitchen styles from a single photo. Great for planning before any renovation.