
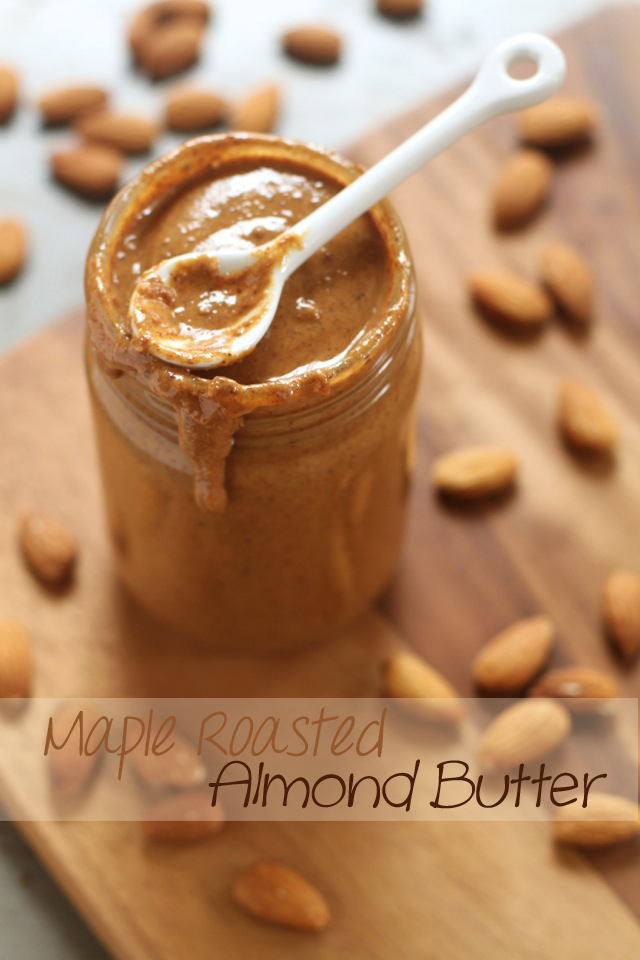
A creamy homemade almond butter with a hint of sweet maple flavour. So easy and delicious that you’ll never want to buy store-bought again!
This past weekend, I tackled something that’s been on my kitchen to-make list for longer than I care to admit — I finally made a batch of homemade almond butter.
It’s no secret that I’m kind of obsessed with the stuff. Not only is it a major staple in my diet, but it’s also one of the most common ingredients that I use in my recipes. Would you believe, then, that despite the fact that I’ve been maintaining this love affair for years, I’ve never actually made my own? Nope. Not once.
I think a lot of that had to do with the fact that I’ve been perfectly happy with the oh-so-tasty-and-convenient jars that I’ve been able to find in stores… but with Justin not showing much love to us Canadians, and Maisie Jane’s continuing to go up and up in price, I would have had to start looking into selling my kidneys on the black market soon if I wanted to continue supporting my addiction… and even that would only be a temporary fix since I only have 2 and they’re not exactly renewable resources 😯
A smarter solution would be to buy a bunch of almonds and make my own butter — so that’s what I did…
Why did I not do this sooner?!? Oh yeah… because I was terrified. I’m not going to beat around the bush here — making almond butter is a loud and violent affair, with the first few seconds making you feel like you’re trying to process rocks. But after that? It’s pretty much smooth sailing.
And as an added bonus, you can calm your nerves by munching on a handful of delicious maple roasted almonds that you deliberately left out of the food processor because you couldn’t stop eating them and seriously considered pulling the plug on the entire operation and just calling it a day right there. Ahem.
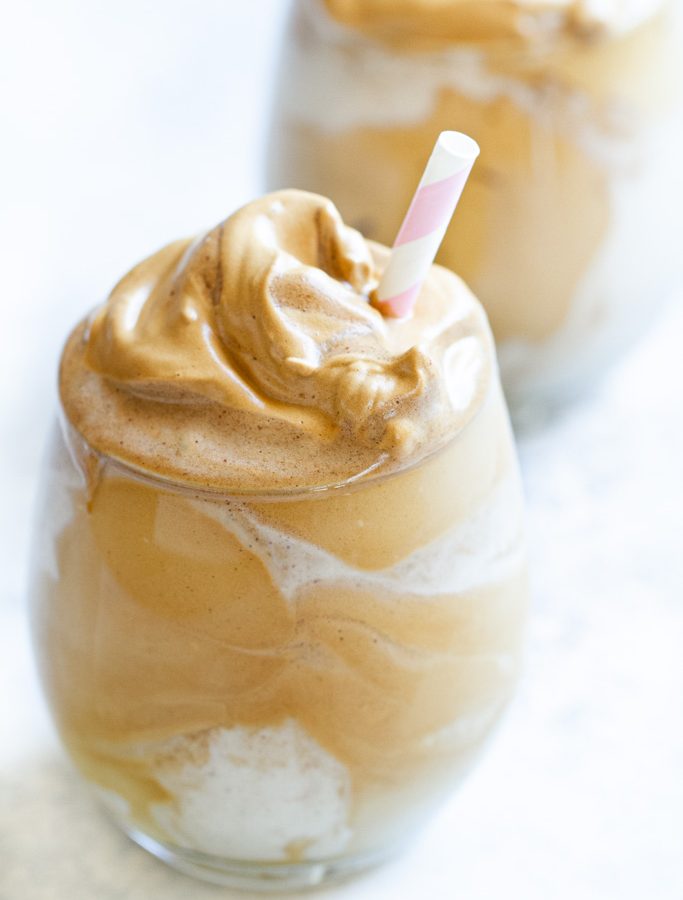
One of the best parts about making things in your own kitchen (besides being able to lick the spoon) is being able to control what goes into them. No questionable ingredients. No added preservatives. Nothing but the good stuff… with the good stuff in this case being almonds, maple syrup, cinnamon, and a touch of sea salt. That’s it! And while it may not be as quick or convenient of a process as picking up a jar from your local grocery store, there’s something inherently satisfying about looking at a finished product and knowing that you made it yourself…
And if you’ve never made your own nut butter because you’ve been too intimidated to try (like I was), I can promise you that you have nothing to worry about — it really couldn’t be simpler!
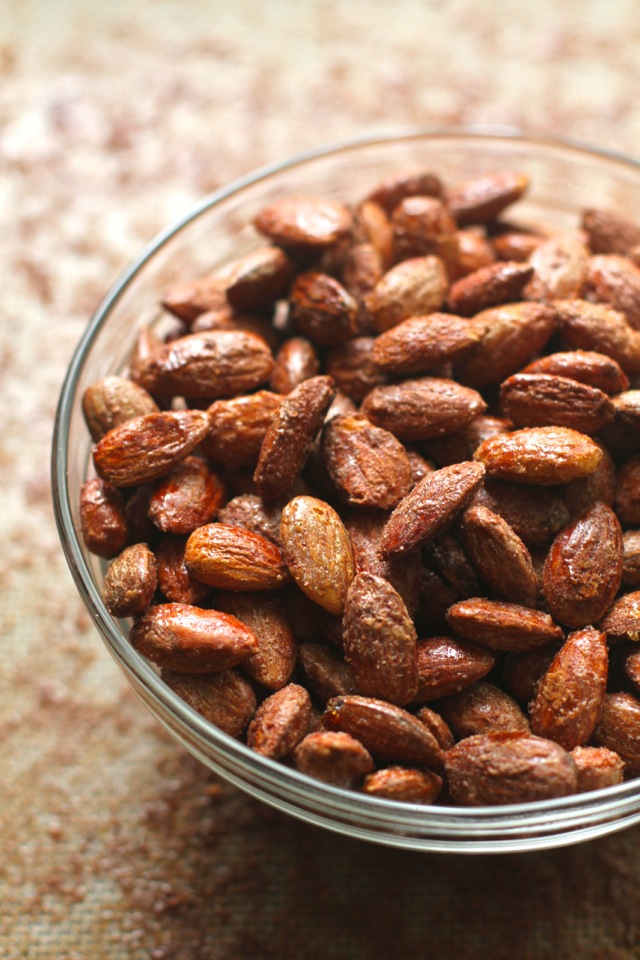
You start by roasting your almonds…
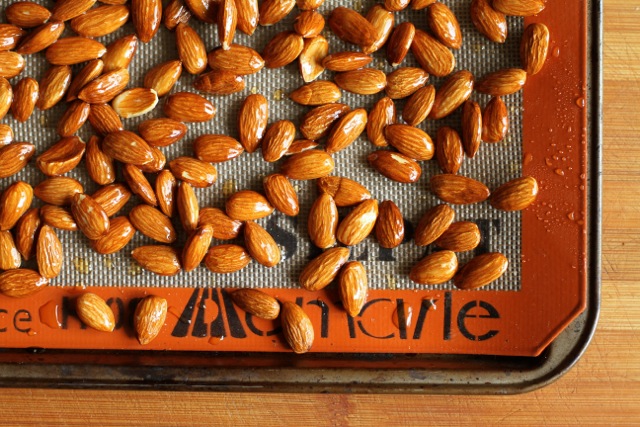
Not only does doing so bring out a more complex and robust flavour, but adding warm almonds to your food processor makes them that much easier to process. Trust me. I skipped the roasting step in the first batch I made, and it probably took twice as long. It also didn’t taste nearly as good… so no cutting corners to try and save time!
Next comes the processing…

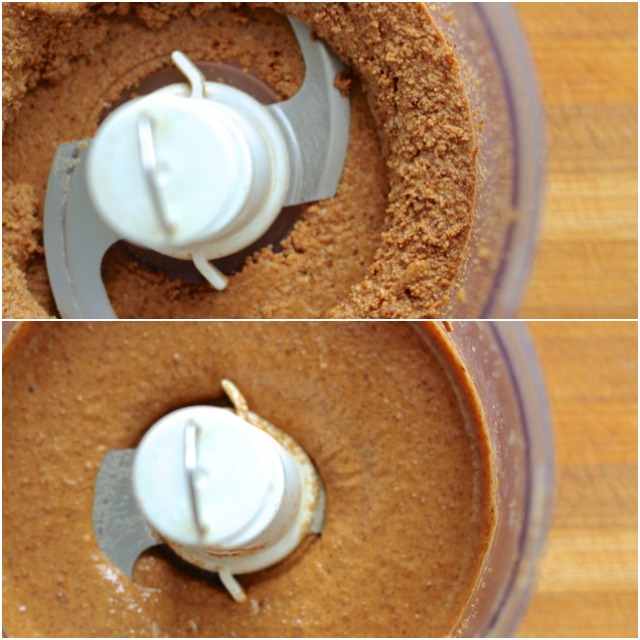
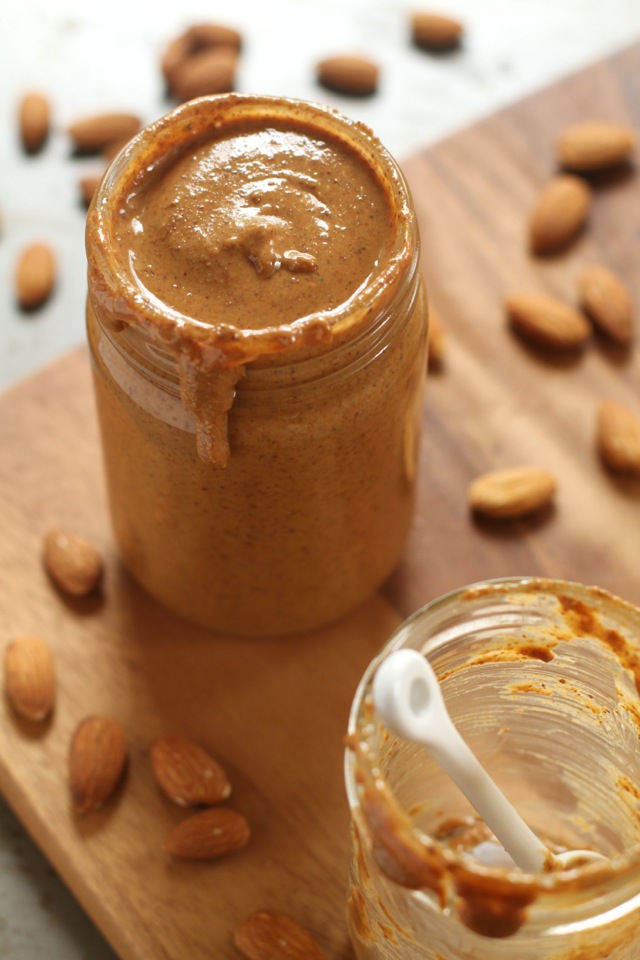
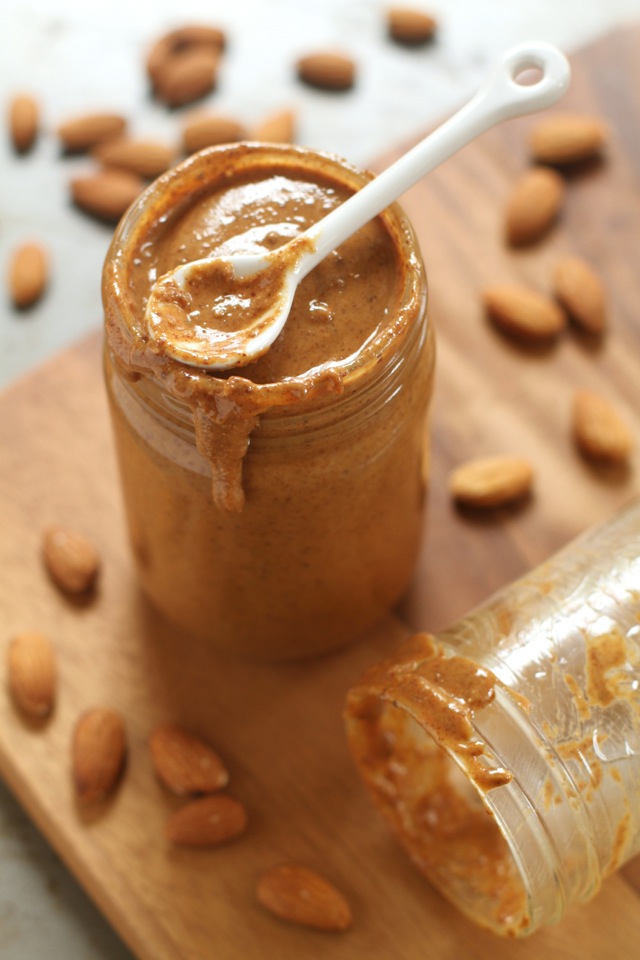
This part takes a little bit of time and patience, but there’s nothing complicated about it. You simply let your processor run for about 10 minutes (turning it off to scrape the sides as necessary), and watch as the almonds go from a grainy paste to a creamy butter. Easy peasy! And you don’t need a fancy processor either. The one I used was around 25 years old and it had no problem getting the job done.
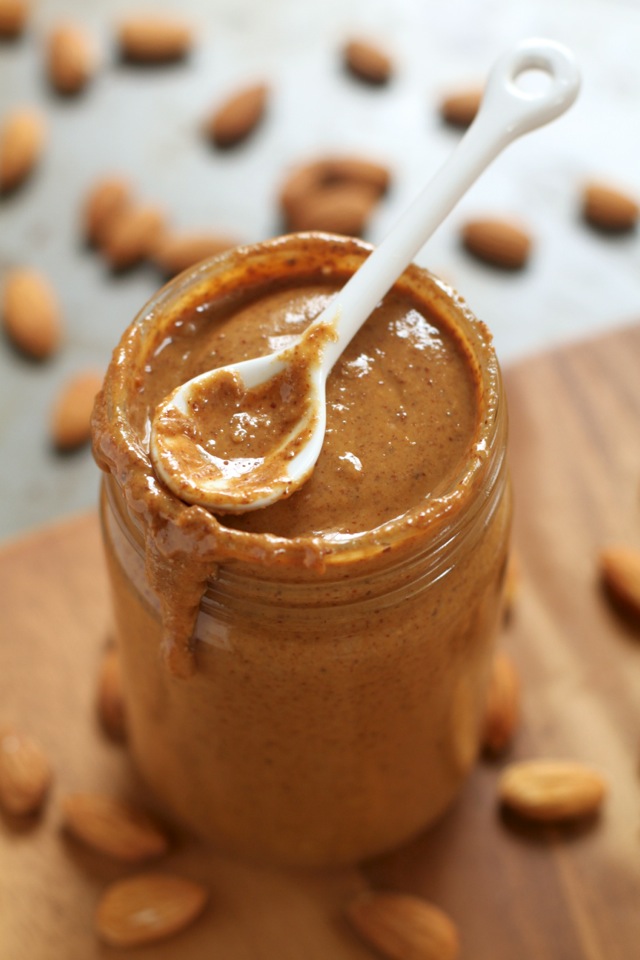
After that, all that’s left is to grab a spoon and enjoy!
I’d love to know if you make this (or any!) recipe! Tag @runwithspoons on Instagram and Twitter, and be sure to subscribe to our mailing list to receive more healthy and delicious recipes straight to your inbox!
Print
Creamy Maple Roasted Almond Butter
- Total Time: 30 mins
- Yield: 2 cups
Ingredients
- 2 cups raw almonds
- 6 Tbsp. maple syrup
- pinch of sea salt
- 1 tsp. ground cinnamon
- optional: 1-2 tsp. coconut oil
Instructions
- Preheat oven to 325F and line a rimmed baking sheet with parchment paper or a silicone baking mat.
- Pour almonds onto baking sheet and drizzle them with maple syrup, using your fingers to ensure that they are evenly coated. Roast for 15 minutes, stirring at least once to prevent burning.
- Remove the pan from the oven and let the almonds cool for about 10 minutes. You want them to still be warm so that they’re easier to process, but not hot so that they don’t put an added strain on your processor.
- Pour the almonds into your food processor and pulse to begin breaking them down. Add 1 tsp. of oil if needed and let your processor run until the almonds begin to break down into a grainy paste, and eventually a smooth butter. Stop processing every couple of minutes to scrape down the sides of the bowl and give your processor a brief rest.
- When almonds become creamy, add salt and cinnamon, and continue processing until desired consistency is reached.
- Transfer the almond butter to an airtight container, and store in the fridge for up to 3 months.
- Prep Time: 15 mins
- Cook Time: 15 mins
Looking for more almond butter recipes? Try one of these!
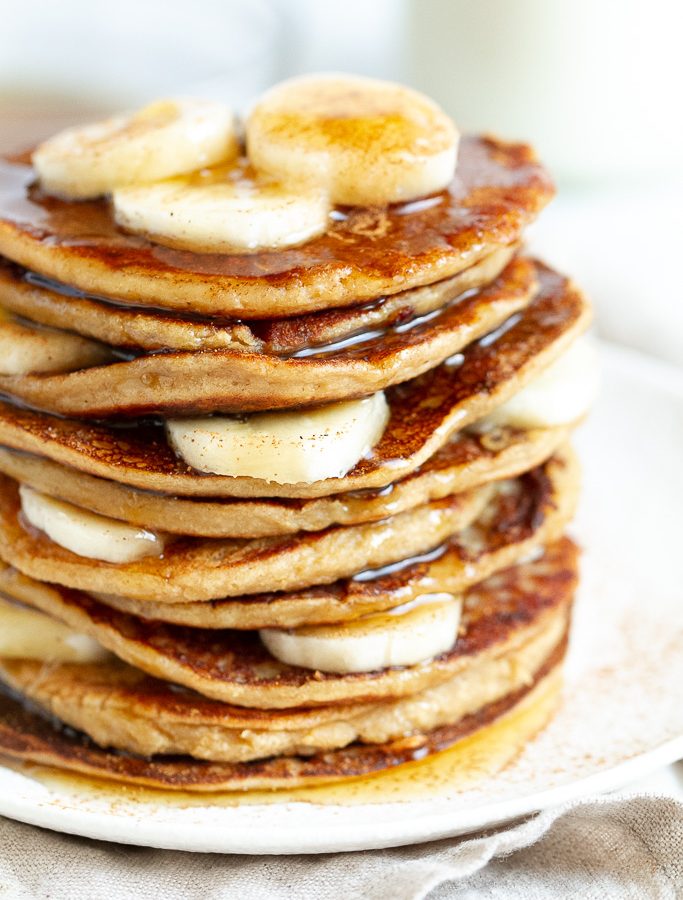
Flourless Chocolate Chip Almond Butter Muffins
Chunky Monkey Snack Bites
Almond Butter and Pretzel Truffles


I made your recipe today for Almond Butter and it is delicious. I left it on the counter to cool when I left to run errands. I got a text from my husband and Son who were diggining into and they fell head over heals in love! I’m pretty sure we will never buy store bought again. Can I ask how you got such a rich color to your almond butter? I roasted my almonds before hand but it still turned out pale in color. Thanks for such a great and easy recipe.
I’m so glad you and your family enjoyed it, Becky! As for the colour – did your almonds still have the skins on them? That’s really the only thing I could think of that would change the colour.
I can’t get mine to the same consistency as yours. Is patience the key? Adding extra oil doesn’t seem to help much (or at all).
Patience is definitely the key, and a lot depends on whether or not your food processor is able to handle the job.
I threw mine back into my food processor and OMG it’s 1000% better (and it was already ridiculously delicious).
What kind of blender do you use or food processor? My food processor isn’t the greatest and don’t think that it could withstand the almonds!
XO,
Kat
The food processor I used for this recipe was actually around 25+ years old and I’m not even sure what make it was. You do need a pretty durable one to make your own almond butter, but you could always give it a shot with a smaller amount of almonds to see how it does.
This is most definitely the best almond butter recipe I ever made, my only substitution is flax seed oil instead of coconut oil which tends to solidify the almond butter if I refrigerate
I just wanted to say that I *loved* making this! I reduced the maple syrup and cinnamon a bit, but holy geez! I just want to eat it by the spoonful. Dangerous! Haha.
Just made this and enjoyed some on apple slices. So delicious!! Thank you.
I would love to make this for someone as a gift. Do you think it can be shipped without spoiling?
It should be fine for at least 2 weeks without refrigeration, Faye 🙂